

Many vehicle owners are not happy with the basic car model they get. It’s part of why they change their car with the many available modifications. These modifications come in all shapes and sizes and have different purposes. One of the most popular modifications is a cold air intake system. It gives your car more power, but properly installing a cold air intake system isn’t the easiest, so you must know what you’re doing when you open the hood.
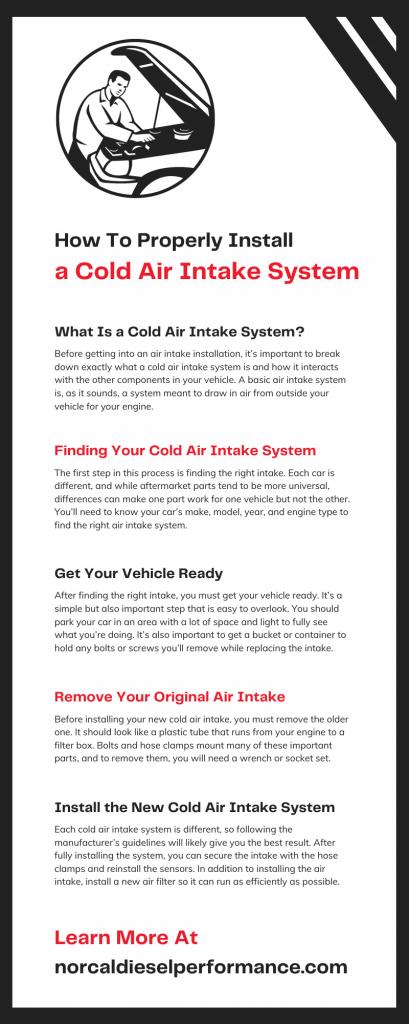
Before getting into an air intake installation, it’s important to break down exactly what a cold air intake system is and how it interacts with the other components in your vehicle. A basic air intake system is, as it sounds, a system meant to draw in air from outside your vehicle for your engine. This air then mixes with fuel from your gas tank and goes through your vehicle’s engine to cause the small explosions that keep your vehicle moving.
That is what a basic air intake system does, so what exactly does a cold air intake system do? Similarly to a normal air intake, the cold air intake brings air to mix with fuel for your engine. However, a cold air intake system brings in colder air, which has much more oxygen than standard warm air. With more oxygen, the combustion can happen more easily in the internal-combustion engine, leading to more horsepower in your vehicle. Unlike the boxed-in standard air intake, cold air intake systems are also free, so air can freely flow instead of getting limited.
Increased horsepower is difficult to understand initially, but it simply means your car doesn’t need to work as hard to drive the same distances. This better airflow and increased horsepower mean you will put much less strain on your vehicle’s engine over time and extend its lifespan.
After understanding what a cold air intake system is and what it does for your vehicle, it’s time to get one and install it. The first step in this process is finding the right intake. Each car is different, and while aftermarket parts tend to be more universal, differences can make one part work for one vehicle but not the other. You’ll need to know your car’s make, model, year, and engine type to find the right air intake system.
After getting this information together, the next step is deciding which air intake to go with. As mentioned already, there are a few different types of air intakes, and that’s even in the realm of what works for your specific vehicle. You may have a few options that all seem good, and it’s important to find the one that works for you. That means considering your budget and what you want out of the intake. If money isn’t as much a factor, you’ll want the one that delivers the best performance increase. When budget is a factor, you must weigh your pros and cons to find the right intake for you.
After finding the right intake, you must get your vehicle ready. It’s a simple but also important step that is easy to overlook. You should park your car in an area with a lot of space and light to fully see what you’re doing. It’s also important to get a bucket or container to hold any bolts or screws you’ll remove while replacing the intake. In addition to parking your vehicle, be sure to wait until your engine has cooled. Doing this will help keep you safe when working on the interior car parts. Unplugging the car battery is also important to ensure no electrical issues happen during installation.
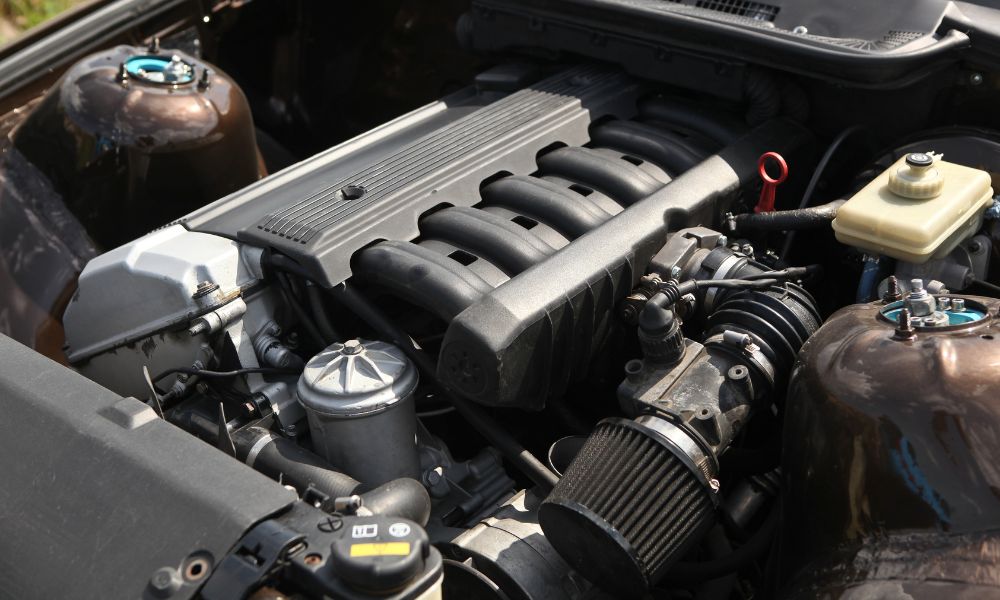
Before installing your new cold air intake, you must remove the older one. It should look like a plastic tube that runs from your engine to a filter box. Bolts and hose clamps mount many of these important parts, and to remove them, you will need a wrench or socket set. In addition to the hose clamps, air sensors may be connected to the intake system. If these are present, you must disconnect them carefully and not disturb the vehicle’s electronic control unit (ECU). After removing this equipment, you can slide the air tube off the throttle body and lift the air box and intake out of the vehicle.
After getting your old air intake out of the vehicle, it’s time to install your new cold air intake system! Before installing, consider using throttle body cleaner to remove any debris or buildup that has developed in your vehicle. If your throttle body is electric, consult your owner’s manual to see if this cleaner is okay, or if there’s another safer way you’ll need to clean it.
Depending on your new air intake, the manufacturer may have included some specific instructions. If there are instructions included, be sure to follow them step-by-step. Each cold air intake system is different, so following the manufacturer’s guidelines will likely give you the best result. After fully installing the system, you can secure the intake with the hose clamps and reinstall the sensors. In addition to installing the air intake, install a new air filter so it can run as efficiently as possible.
After getting everything in place and ensuring the intake pipe is running away from the engine bay, you can plug in the mass air flow (MAF) sensor and reconnect your battery. However, before driving, let your vehicle idle for a few minutes. This time will help your vehicle readjust to the air volume it receives. After this, you can take your vehicle back onto the road!
A cold air intake system can do a lot for your vehicle, but only if you properly install it. Without proper installation, you won’t receive all the benefits a cold air intake system can bring. In addition to properly installing the system, you must find the right one for your vehicle—and we can help you do just that at Norcal Diesel Performance. We have a variety of aftermarket cold air intake systems, including a Ford 6.7 cold air intake, so you can make your vehicle more powerful and efficient!

You must login to post comments.